Toja Grid
(Tips to get started and my review)
Hello and welcome! Today I wanted to share a bit about my recent experience installing a Toja Grid Pergola. I have installed two systems to date and will be discussing why I would recommend this wonderful product. If you’re looking for an option to add a structure to your property in a few hours without requiring a permit then you’re in the right place! Read on for my personal tips on getting started as well as my favourite benefits of this product.


Benefits
It is much more budget friendly than hiring a contractor to custom build a pergola
All you need to get the job done is a drill and a few friends to assist with the lifting
The instructions are VERY clear and easy to follow
This pergola can be set up in a few hours and would be a great weekend project
Since no digging is required for set up, no permits will be needed
It boasts a clean modern look
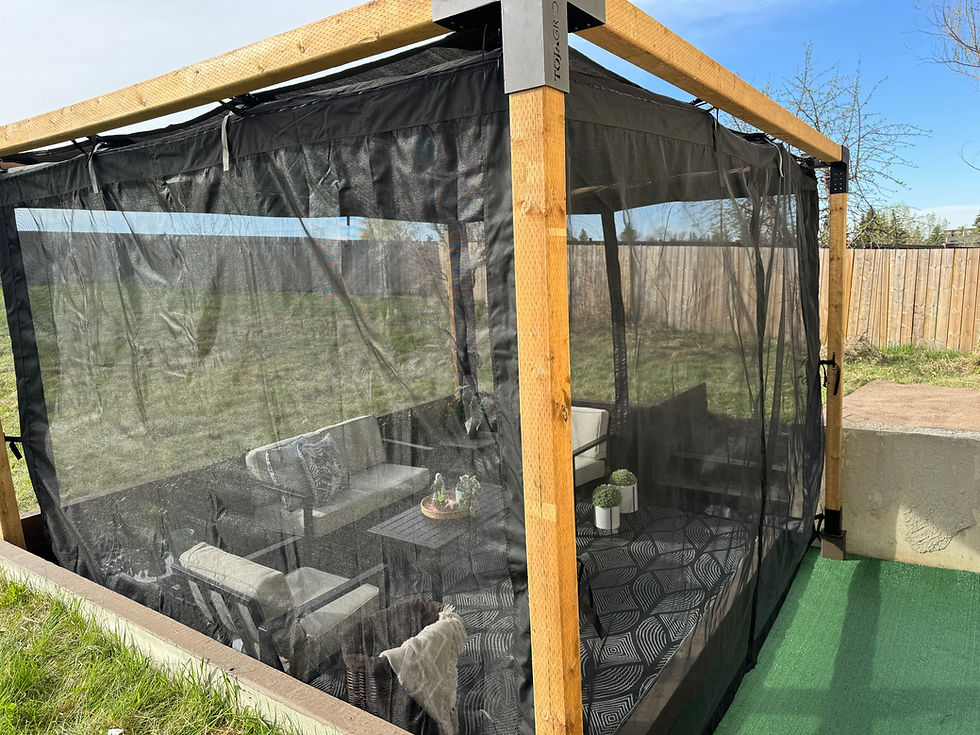
You can add accessories such as a sail shade, mosquito net, privacy wall etc
There are a variety of sizes, colours and configurations for all you outdoor needs
Tips on getting started
Since I have installed two if these systems, I picked up some tips to share with you all. Lets dive right in!
After deciding on the size of the pergola I wanted, I checked locally to purchase my posts. Here’s where I saved a lot of time and work. Check local lumbar stores to order the posts in the sizes you need to build the pergola. Ideally, you would order the sizes of posts that won’t require cutting. Eg. I set up the 12ft x 10ft pergola and purchased four 8ft pieces for the vertical posts, two 10ft pieces and two 12ft pieces. This way you just need to attach them to the brackets with no cutting required.
Lay your posts and brackets the way you will attach them so you don’t mix up the wrong posts in the wrong positions
Organizes all your screws, caps, and brackets for a smoother process
Each bracket only required two screws for each set of 8 holes. Insert the screws in the holes closest to where the wood inserts into the bracket
Set up the top of the pergola on the ground first.
Do not add the vertical posts at this time.
If you are adding a sail shade and/or mosquito net, install the brackets while the top of the pergola is being set up on the ground for easier access.
Additional Considerations
A few reminders I’d also like to share:
The sail shade is not waterproof. Its main function is to provide shade from the sun.
The sail shades should be removed and stored away during the winter season
If is recommended to remove the sail shade with winds at 50km/hr or greater.
Overall I would highly recommend this product. I hope you found this information helpful! To learn more, check out the Toja Grid website!


Comments